
- DMG
- CHINA
- IN STOCK
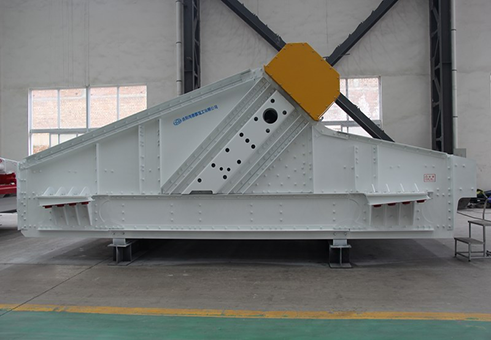
- horizontal linear vibrating screen
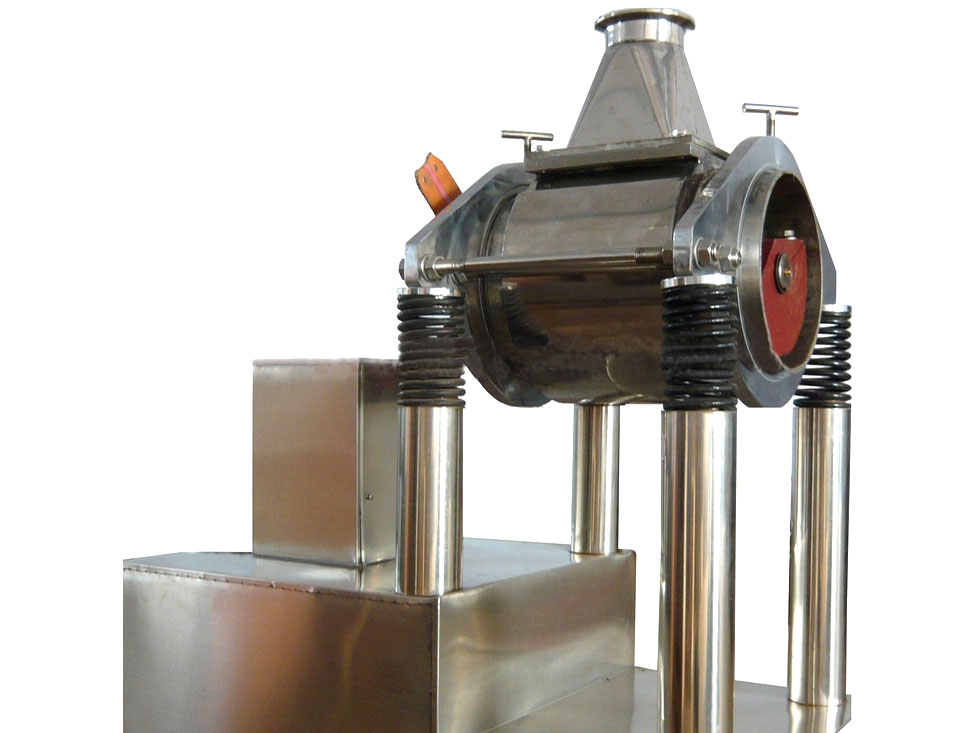
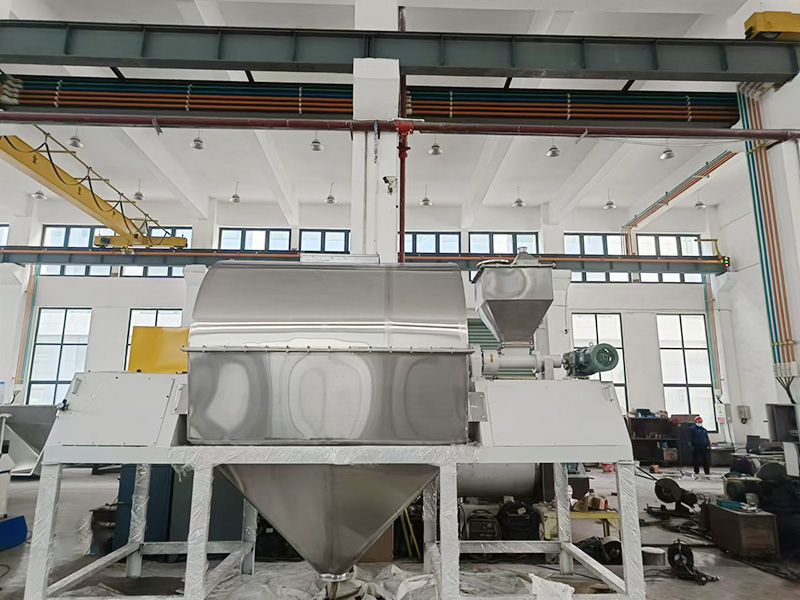
A horizontal linear vibrating screen, also known as a linear screen, is powered by a vibrating motor. The screen lifts the material while it moves forward in a straight line. The material evenly enters the inlet of the screening machine from the feeder, then passes through multiple layers of screens of varying specifications, allowing different materials to be discharged from various outlets
horizontal linear vibrating screen
A horizontal linear vibrating screen, also known as a linear screen, is powered by a vibrating motor. The screen lifts the material while it moves forward in a straight line. The material evenly enters the inlet of the screening machine from the feeder, then passes through multiple layers of screens of varying specifications, allowing different materials to be discharged from various outlets. This type of vibrating screen offers a simple structure, easy maintenance, low energy consumption, and high output. Its fully enclosed structure prevents dust from escaping, and it automatically discharges the material, making it ideal for assembly line operations.
I. Working Principle of a Horizontal Linear Vibrating Screen
This vibrating screen uses a dual vibrator drive. When the two vibrators rotate synchronously or in opposite directions, the excitation forces generated by the vibrating screen's eccentric weights cancel each other out in a direction parallel to the motor axis, then add up to a combined force perpendicular to the motor axis. This results in a linear motion path for this vibrating screen. The two motor shafts are angled relative to the screen surface. Under the combined force of the material's own weight and the excitation force, the material is thrown up on the screen surface, moving forward in a linear, hopping motion, thereby grading and screening the material.
II. Instructions for Using a Horizontal Linear Vibrating Screen
1. Pre-Installation Preparation
① Check that the motor label meets the requirements.
② Check the motor surface for deformation or damage.
③ Check all motor fasteners to ensure they are not loose.
④ Check that the motor's power supply is intact and test it by running it at no load for 5 minutes.
⑤ Check that the screen machine rotates smoothly. If any abnormalities occur, correct them immediately.
⑥ Dry the stator windings and measure the insulation resistance with a 500V megohmmeter. The drying temperature should be below 120°C.
2. Installation and Adjustment
① The motor must be mounted on a smooth, flat surface.
② The motor can be mounted horizontally.
③ Adjust the excitation force.
④ The motor must be grounded and its reliability can be ensured using foot bolts, leads, and a grounding device.
⑤ When connecting the motor to the power supply, the lead cable must not be bent sharply. Four-core YZ-500V rubber cable is recommended for the lead cable and must be securely fastened to the vibrator.
3. Operation and Maintenance
① The screen machine must be equipped with an electrical protection device.
② When the screen machine is initially operational, check the anchor bolts at least daily to prevent loosening.
③ If the motor rotation direction does not match the required direction, adjust the power supply phase sequence.
④ If the screen machine has not been used for an extended period, measure the insulation resistance with a 500-volt megohmmeter when it is used again. The result should be no less than 0.5 megohms.
⑤ After the screen machine has accumulated 1500 hours of operation, inspect the bearings. Any bearings found to be severely worn should be replaced immediately.
⑥ During normal operation, refill the lithium-based grease using an oiler approximately every two weeks to ensure proper lubrication of the screen machine.
4. Daily Maintenance
① Before Starting:
⑴ Check the coarse and fine meshes for damage.
⑵ Check that the transport supports have been removed.
② During Starting:
⑴ Check for any unusual noises.
⑵ Check that the current is stable.
⑶ Check for any unusual vibrations.
③ After Use:
Clean immediately after each use.
④ Regular Maintenance:
Regularly inspect the coarse and fine meshes and springs for fatigue or damage. Inspect all parts of the machine for damage and to determine if lubrication needs to be added.
⑤ Installation, Commissioning, and Trial Run:
(1) Installation
Before installation, check the packing list to ensure all parts are complete and free of damage.
During installation, follow the installation drawings. The foundation should have sufficient rigidity and strength to support the full static and dynamic loads of the vibrating screen.
Ensure a 75mm clearance between non-moving parts such as the hopper and chute and the screen box.
The four corners of the screen box must be level during installation.
(2) Adjustment and Test Run
The contact surface between the spring support and the spring must be level. After adjusting the position, bolt the spring support to the screen box trunnion and then weld it.
The no-load test run should last for at least two hours. Only after the no-load test run passes can the loaded test run be started. The loaded test run can be adjusted according to the requirements of the process test run.

Product key description, this is a very good product description, detailing our product use, product characteristics